1. Measure Space
Before replacing your bathroom vanity, measure your space to make sure you buy the right size vanity.
Tip: Dual vanity installations require more space and plumbing considerations. See the manufacturer's instructions for details. If you are installing a bathroom vanity with a top, include the countertop in your measurements.
2. Choose Your New Vanity And Faucet
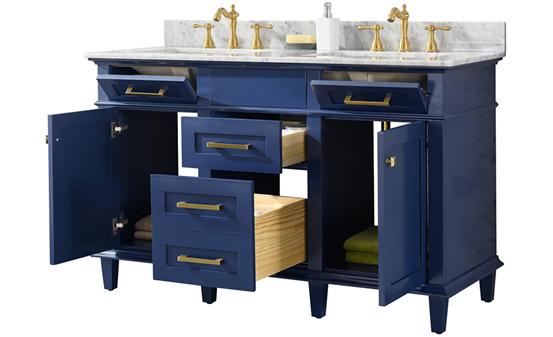
With so many types of bathroom cabinets to choose from, it's important to decide if you prefer a vanity with or without a connecting top, and whether a bathroom faucet is included. From Carrara marble to granite and laminate, it's important to choose the countertop material that best suits your lifestyle. Consider durability (granite and marble), style and your family's needs when making your decision.
Tip: When shopping for a bathroom cabinet, pay attention to the style of the counter. Hardware can be quickly and easily replaced to match your decor.
3. Remove the Old Vanity
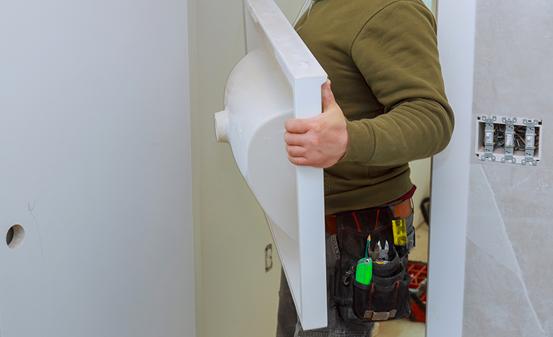
An important step in learning how to install a bathroom vanity is knowing how to install bathroom vanity plumbing. The next step will guide you through the plumbing details.
- When removing a bathroom vanity, first locate the water shutoff valve, usually located under the sink, and turn off the water supply. If your valve is not under the sink, be sure to close the main water valve. After turning off the water, quickly turn on the faucet to relieve the water pressure that has built up in the pipes.
- Put a small bucket under the pipe to catch the water. Using an adjustable wrench, loosen the slip nut or mounting nut on top of the P-type trap (drain pipe, named for its shape).
- Next, use the same wrench to disconnect the water supply line.
- Use a utility knife to cut the sealant along the backsplash, then carefully pull the top of the sink or vanity off the wall.
- Remove the sink top from the vanity base. Some countertops use glue or brackets to adhere to the vanity top, so you may need to use a pry bar to loosen the sink top from the base.
- Finally, use a drill to remove the screw on the bottom of the dresser and remove it from the wall.
- Check with your local recycling and garbage collection center to make sure you dispose of your old dresser properly.
4. Install the New Dresser
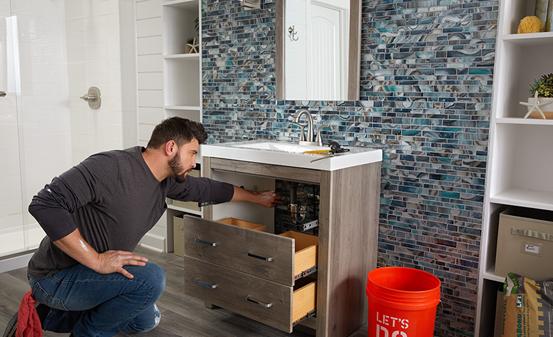
- Put the new vanity in place and outline it on the wall.
- Use a stud finder to locate and mark studs.
- If necessary, place dressers and spacers on the floor.
- Measure, mark and drill drain and water supply lines.
TIP: Some dressers come with pre-drilled holes for easy installation. Always install a bathroom vanity according to the manufacturer's instructions.
5. Stick It on the Wall
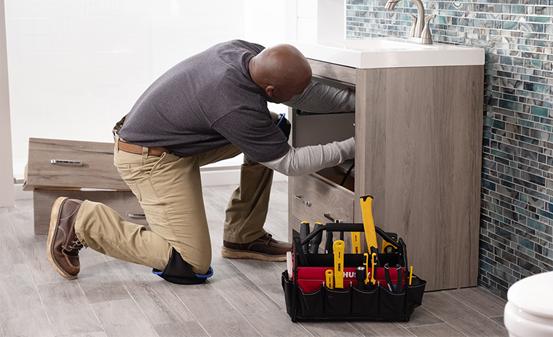
- Secure the vanity to the wall with 3" drywall screws. If the holes are not perfectly aligned, or you want a more secure installation, use wall anchors to secure the vanity to the wall.
- Check the level again before trimming the spacer with a utility knife.
- If there are large gaps in the wall or floor, use trimming nails to install quarter circle moldings along the edge of the wall or floor.
6. Install the Faucet
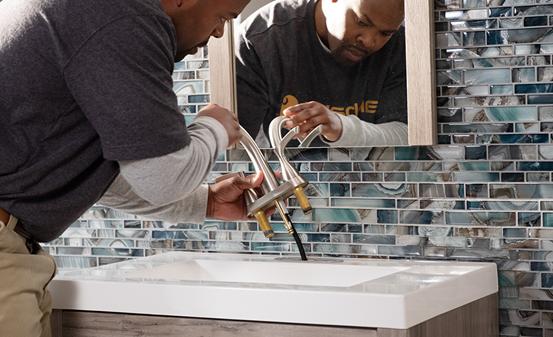
- Assemble the bathroom faucet and drain over the sink before installing the bathroom faucet to the vanity.
- Put the plastic gasket on the faucet. Then, while holding the faucet from below, tighten the retaining nut.
- Insert the faucet into the designated hole in the top of the vanity.
- Use an adjustable wrench to connect the water supply line to the new faucet.
Tip: Some vanities have built-in faucets. Follow the manufacturer's instructions to install the tub faucet and secure it to the vanity top.
7. Fixed Dresser
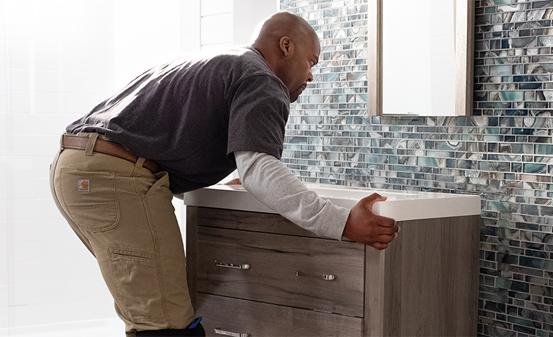
If you have opted for a bathroom vanity base or a vanity without a top attached, you will need to dry fit the vanity top onto the vanity. Be sure to attach the vanity top to the vanity according to the manufacturer's instructions.
- Make sure the walls are straight and there are no gaps between the wall and the vanity.
- Apply silicone caulk to the top of the cabinet.
- Fit the vanity top in place and press down firmly.
- Check to make sure the top of the vanity is level and flush with the wall. If your dresser doesn't have adjustable legs, use spacers under the base until the sides of the dresser are level.
- If necessary, add a tailgate.
8. Reconnect the Water Supply
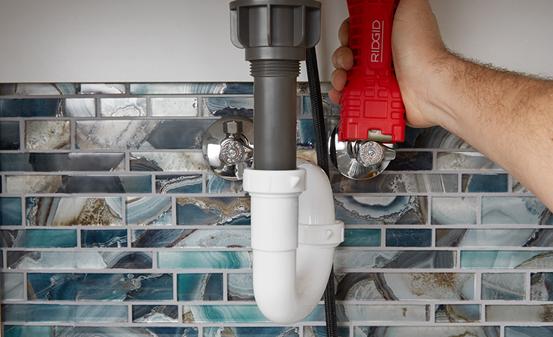
- Reconnect the faucet supply line to the water system and reconnect the P-trap.
- Turn on the water supply and test for leaks.
- Install pop-up drains.
While replacing bathroom cabinets, it's important to find the style that works for you. Shop our full range of bathroom cabinets and discover your ideal design.


